
Sheds are incredibly useful for storing tools, equipment, and other items, but accessing them can sometimes be challenging, especially if the shed sits on uneven ground. That’s where a shed ramp comes in handy. In this step-by-step guide, we’ll walk you through constructing a sturdy and functional shed ramp to make accessing your shed easier.
What Materials Do I Need To Construct A Shed Ramp?
To construct a shed ramp, you’ll typically need the following materials:
- Pressure-treated lumber: This is the primary material for building the frame and decking of the ramp. The size and quantity of lumber will depend on the dimensions of your ramp.
- Galvanized screws or nails: These are used to assemble the ramp securely. Galvanized hardware is preferable because it is more resistant to rust and corrosion, which is important for outdoor structures.
- Concrete blocks or gravel: These materials may be necessary for leveling the ground where the ramp will be installed. They provide a stable base for the ramp and help ensure it is level and properly supported.
Optional Materials for Shed Ramp Enhancement and Functionality
- Non-slip surface material, such as outdoor-grade plywood with a textured surface or rubber matting, can be added to the ramp to improve traction and safety.
- Paint or stain: Applying a protective coating to the wood helps prolong its lifespan and enhance the appearance of the ramp. If you intend to use it outdoors, choose a paint or stain resistant to weather conditions.
- Handrail materials: Depending on the height and intended use of the ramp, you may choose to install handrails for added safety and support. Handrail materials can include pressure-treated lumber, metal railings, or PVC pipe.
- Greenhouse kit components: If you’re interested in gardening and want to maximize your outdoor space, consider integrating a small greenhouse at the side or top of your ramp. This can be especially beneficial if the ramp gets ample sunlight. The kit can include UV-resistant polycarbonate panels, aluminum framing, and all necessary fasteners.
What Tools Are Required For Building A Shed Ramp?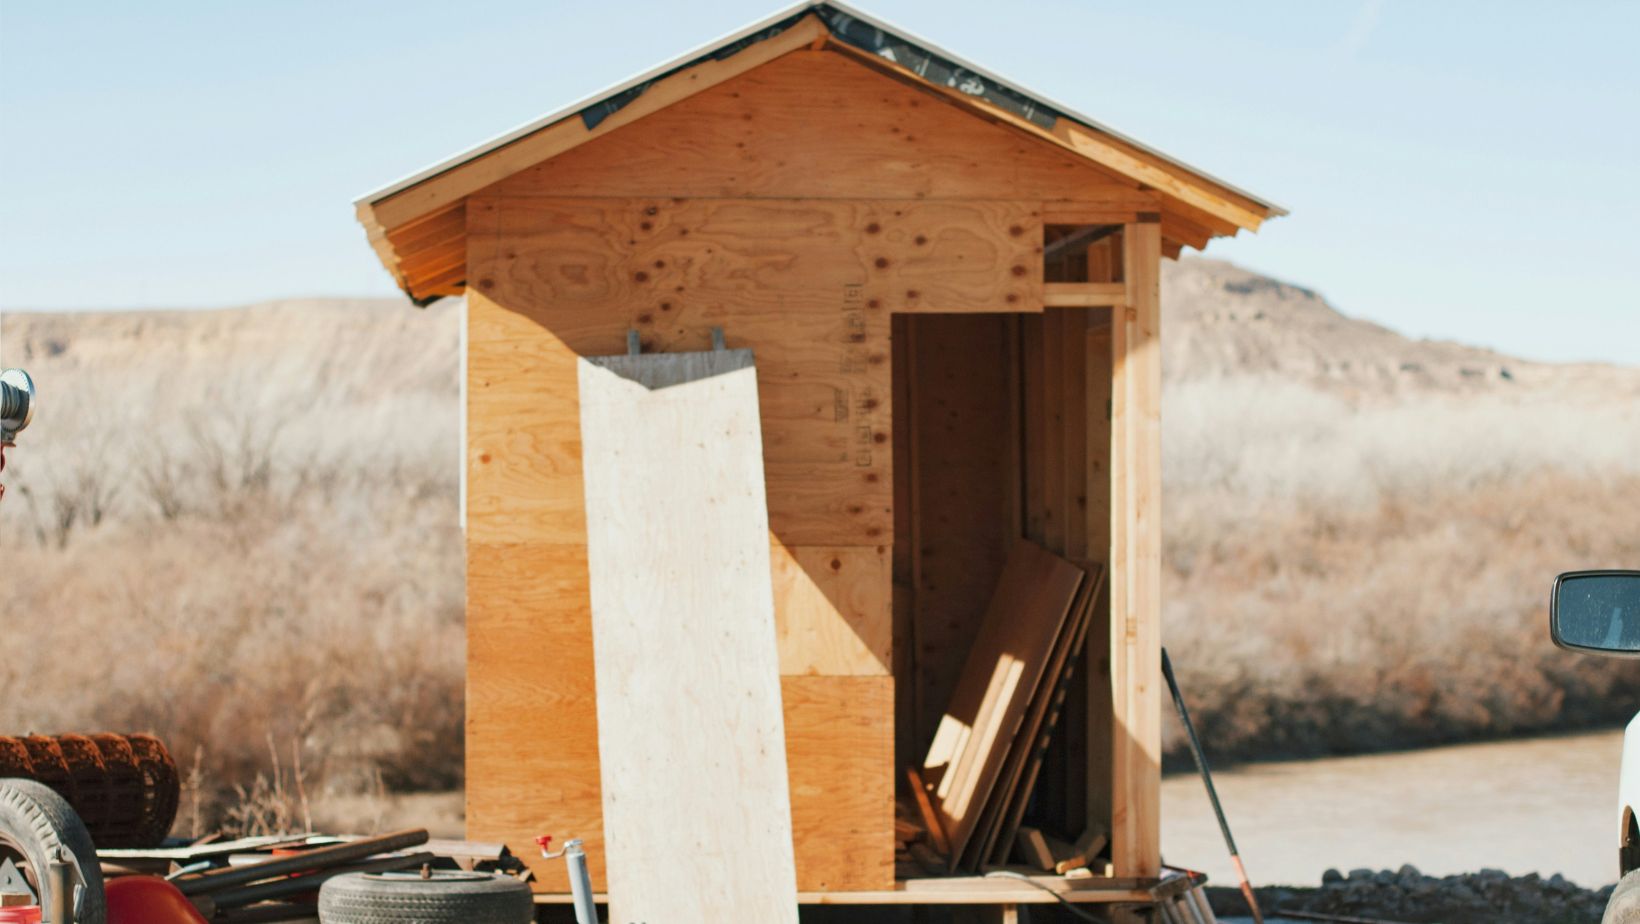
- Circular saw: Used for cutting lumber to the required dimensions. Use a circular saw with a sharp blade for clean cuts and easy installation.
- Tape measure: Essential for accurately measuring the dimensions of the ramp components and ensuring proper alignment during construction.
- Level: This is necessary to ensure that the ramp surface is even and properly sloped for drainage. A long spirit level or a laser level can be useful for larger ramps.
- Drill/driver: Needed for drilling pilot holes and driving screws or nails into the lumber. A cordless drill/driver provides mobility and convenience during assembly.
- Hammer: This tool is used to drive nails or tap lumber into position. A claw hammer can also be handy for removing misplaced nails or adjusting components.
- Framing square: This is essential for marking and verifying angles and ensuring that the ramp frame is square and properly aligned.
- Adjustable wrench: This is an essential tool for any hardware installation or for securing the ramp to the shed foundation, as it allows you to tighten bolts and nuts with ease.
- Safety gear: Wear protective gear like goggles and gloves before operating power tools or handling lumber.
How Do I Determine The Size And Slope Of The Shed Ramp?
To determine the appropriate size and slope for your shed ramp, start by measuring the height from the ground to the shed threshold, which dictates the ramp’s rise. Next, consider the length based on your space and the slope you desire; a longer ramp results in a gentler incline, which benefits heavy loads or individuals with mobility challenges.
The slope is frequently stated as a ratio, such as 1:12, which means the ramp rises an inch for every 12 inches of horizontal distance. For optimal accessibility, a slope no steeper than 1:12 is recommended, aligning with ADA guidelines. The width should also accommodate the items you plan to move, typically between 3 and 4 feet.
In addition to the physical dimensions, ensure your ramp adheres to safety and accessibility standards, taking into account the materials and design that will best suit your needs. Consult local building codes to guarantee compliance with regulations while choosing materials and design. This approach will help you create a functional and compliant shed ramp.
Planning and Preparation
Before diving into construction, assessing the shed’s location and slope is essential. Determine the dimensions of the ramp and gather all the necessary tools and materials. You’ll need measuring tape, saw, drill, screws, framing lumber, surface material (wood, composite, etc.), and any additional features like handrails and edge guards.
Building the Frame
After taking accurate measurements, the first step is to cut out the frame components according to your specified dimensions.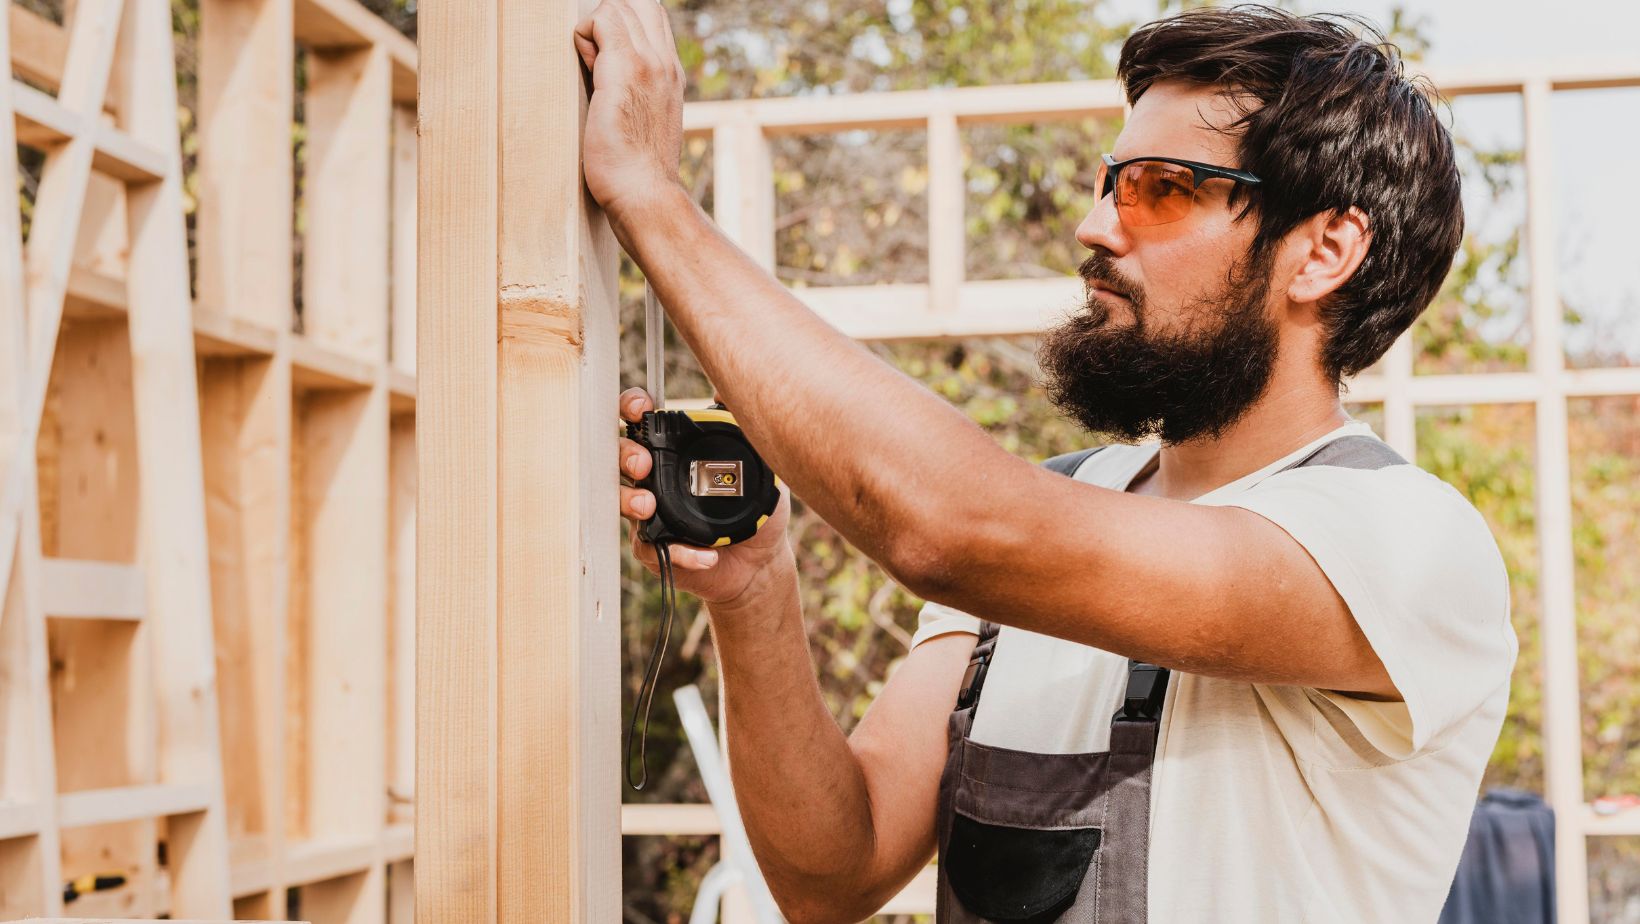 Assemble the frame structure, ensuring it’s sturdy and level. Install cross braces to provide additional stability and support.
Adding the Ramp Surface
Choose the ramp surface material based on durability and aesthetic preferences. Cut and attach the surface boards to the frame, ensuring proper slope and alignment for easy access. Double-check measurements to avoid any unevenness that could cause tripping hazards.
Installing Support and Safety Features
For added safety, consider installing handrails along the sides of the ramp. These will provide stability and support when walking up or down the ramp. Additionally, edge guards should be added to prevent slipping off the sides of the ramp. Secure the ramp to the shed and the ground to keep it in place.
Finishing Touches
Once the construction is complete, sand any rough edges and smooth the surface for a polished finish. Apply a weather-resistant finish or paint to protect the ramp from the elements and prolong its lifespan. Take the time to check for stability and make any final adjustments as needed.
Conclusion
Building a shed ramp may seem daunting, but with the right tools, materials, and know-how, it’s a project that any DIY enthusiast can tackle. By following this step-by-step guide, you’ll be well on your way to constructing a sturdy and functional shed ramp that makes accessing your shed a breeze. So roll up your sleeves and get ready to enjoy the convenience and ease of your newly built shed ramp!
 By Olivia Gril
Hey Folks! I'm Olivia from California, United States. I'm a blogger, travel lover, I can travel anywhere, whether it's a new place or already visited. I love meeting new people, clicking photos of every movement, and documenting my adventure. I also, write about travel, travel movies, the best places to visit, etc. Read my stories.


