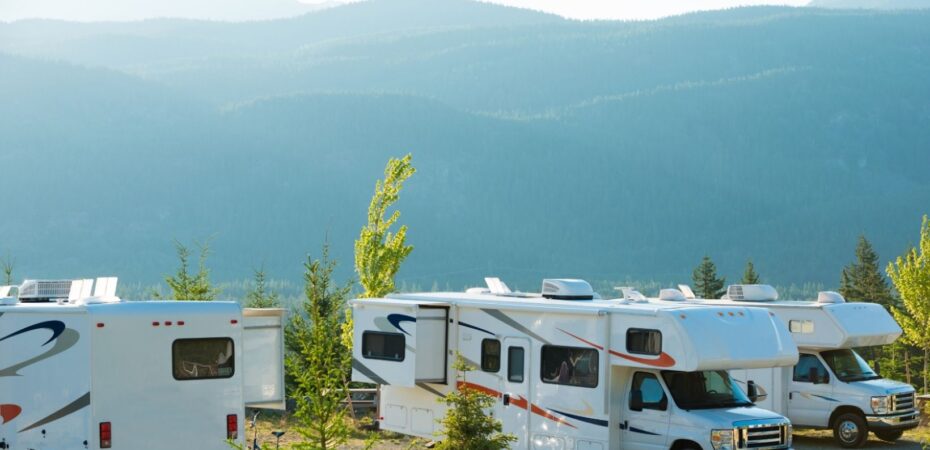
Using a mechanical RV awning is not as complicated as it seems. Most people get easily discouraged because opening and closing one can seem too technical and confusing. But such is totally not the case. Any person can open and close a mechanical RV with no complication whatsoever. You just need to be aware of the general vital matters that need to be dealt with, and you’d be set! On that end, we got you covered. We care for you so much! So much so that we prepared this ultimate step-by-step guide on how to open and close a mechanical RV awning. Read on, learn, and confidently proceed! You can do it!
Step-by-step Guide on Opening Your Mechanical RV Awning
Opening a mechanical RV awning is simple and uncomplicated. So much so that if you’d have enough practice, you’d be able to do it by yourself. The only stuff you’d need is as follows:
● awning lever pole – a three-foot piece of metal with a hook on its one end
● focus
● patience
Do note that some awnings open differently. This guide is largely based on our general experience operating different awnings through the years, like Fiamma awnings. Always read your RV’s awning manual before proceeding to ensure that you do the job well.
Step 1: The Release of Arms Travel Locks
To avoid any damage to your awning, you should always release the arm travel locks first. They come in different styles, so you need to be particular on how to open the ones that your awning comes with. Some awnings only need to have support arms loosen, while some need to have knobs unscrewed.

Step 2: Switching to Extend Mode
Upon unlocking, you should then check the top of your awning. There is a small lever – usually on the right – that you need to switch to have your awning extended or open. You should use your awning rod to flip the lever down.
Step 3: Extending Your Awning
You may then use the awning rod to pull the strap found in your awning’s center part. Slowly pull such a strap until the awning is fully extended. You won’t need much force to open your awning if your torsion spring is in good shape. Upon doing this, your awning should remain extended — it can be fully or partially extended. Regardless of the extent, it has to be enough to allow the awning support arms to engage.
Step 4: Extending the Support Arms
This step is important as it will secure your awning. Do this by sliding the inner support arms onto the end of the outer support arm. You will hear a click once the inner arm is locked in place. Some awnings come with metal lips that support arms that can hook on. To tighten the fabric, put some weight on the outer support arm. You should then proceed to tighten the inner support arm’s black knobs. Do the same thing on the other side.
Step 5: Raising Your Awning
To raise the awning, you will need to use the outer arms. You can do this by yourself or with a helper. If you’d do it by yourself, you need to only partially raise one side and then the other until such time that your awning is at your desired height. With a helper, raising can be done in one go. Do this by releasing the outer arm lock and raising your arm to your desired height. PRO TIP: Opt for a height high enough to clear the door to avoid fabric damage. You can also have one side slightly lower to allow for rain runoff.
Step 6: Optional — Arm Peg Out
You can also peg out if you want your awning to be arms away for your caravan. Do this by retracting the arm a little. You will then unclip it from your caravan’s body. Find the clip at the bottom of the arm. Upon detachment, you simply need to walk it out until it is under the roller tube. Per the arm to secure a stable awning.
Step-by-step Guide on Closing Your Mechanical RV Awning
To close a mechanical RV awning, you just need to do the earlier mentioned steps but in reverse. Such steps are as follows:
Step 1: Unpegging and Lowering of Awning Arm
This only needs to be done if you peg out your awning’s arms. Simply do this by walking them back to the RV and duly clipping right after. Secure the mounting clip by giving it a little shake to check its connection. Next, you’d need to lower the outer awning arm. Do this by releasing the outer arm lock and lowering it until it is retracted fully. If you’re doing this alone, don’t forget that this needs to be done partially by going from one side to the other side until all is fully retracted.
Step 2: Retracting of Your Awning’s Support Arm
Do this by loosening the knob found on the inner arm. Some caravans may have latches that need to be released instead.
Do the same thing on the second arm.
Step 3: Switching to Retract Mode
Use the strap for this. Slide it near the retract level while holding it tightly. You should then flip the lever unto a retract position. The awning will want to snap due to tension, so you need to keep a firm hold on the strap as you switch the lever. Do this carefully to avoid damaging your RV, the awning, or yourself. When the lever is already in a retracted position, you will then need to carefully slide the strap back to the center of the awning. This needs to be done for your awning to extend and retract evenly.
Step 4: Retracting the Awning
You may now retract the awning. Do this by slowly releasing the strap. This will allow the awning to roll up upon itself. Before the strap gets too high, use your awning rod to hook it to the end of the strap. Proceed with rolling the awning until it is fully stowed.
Step 5: Travel Locks
For the last step, you will need to engage the travel locks. Be careful in doing this to avoid damage.
 By Olivia Gril
Hey Folks! I'm Olivia from California, United States. I'm a blogger, travel lover, I can travel anywhere, whether it's a new place or already visited. I love meeting new people, clicking photos of every movement, and documenting my adventure. I also, write about travel, travel movies, the best places to visit, etc. Read my stories.