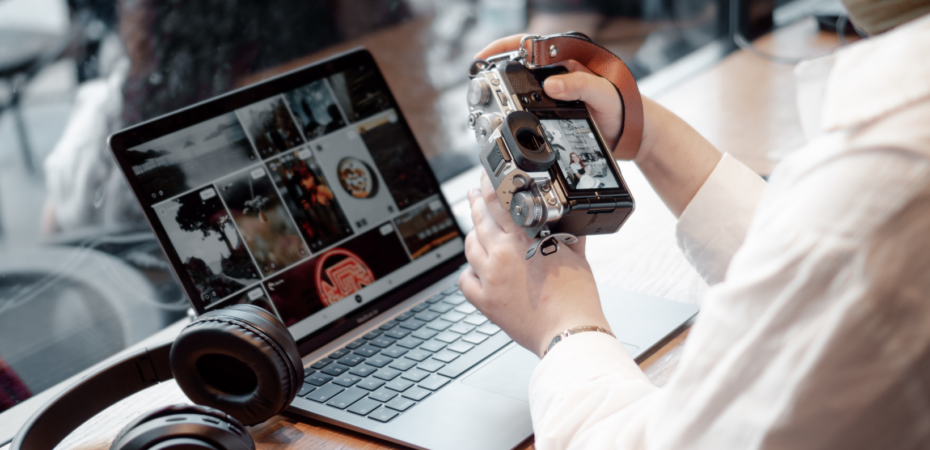
The importance or value of the colors in images is undeniable. They make your images noticeable and stand out. It is especially crucial for businesses or companies who want to put their services or products before their customers.
CapCut online photo editor is a live example. Using this tool, you can use a transparent background maker, upscale your images, deal with color correction, and much more. The tool is super simple to use and has zero difficulty level. Sounds interesting? Let’s delve in deeper to find out!
Why Consider Using CapCut Online Image Editor?
Cater Team Collaboration
You can work on the same design with teams. This will help you edit and get feedback from your team members. Apart from this, you can manage your workload by assigning tasks for online image editing through CapCut. You can assign individual editing tasks to the persons. Besides this, you can bulk edit the images using this tool. This way, you can save your valuable time on big projects.
Resizing Made Easy
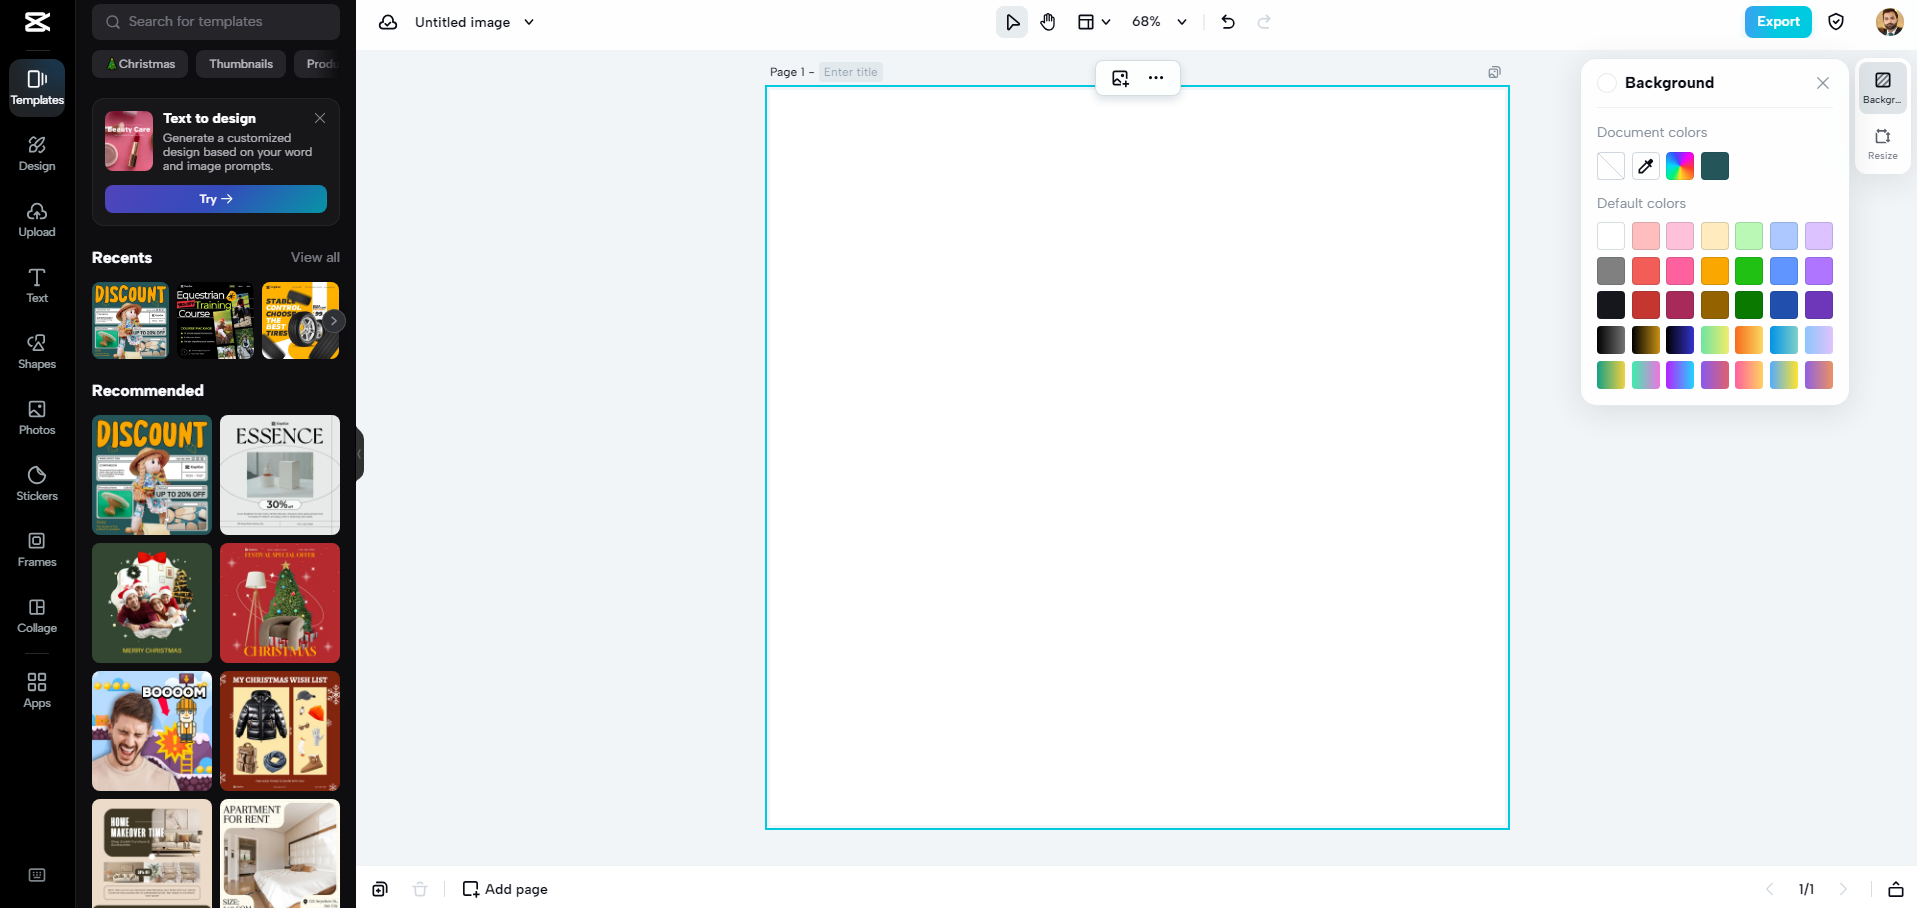
Using the CapCut Creative Suite online photo editor, you can set the size of your images per your requirements. There is no limitation on sizes. The sizes exist for the portrait frames as well as landscape frames. You can choose the set sizes for various social media or other platforms. In case you don’t get the size you want. The option exists to set a custom or personalized size. You can set the size in terms of pixels and centimeters. Choose any one depending on your needs.
Tweak Image Lighting
Low light within the images makes them less attractive and attention-grabbing. This is because the low light makes the details almost unnoticeable. You don’t need to worry in this regard. CapCut AI feature helps you improve the lighting of your images on the go. It adds light to the images by keeping the other details intact. This is what makes this feature desirable.
Add Text
To clear the concept or convey the message effectively, it is essential to highlight the details of the images with text. The online image editor allows you to place the text anywhere on the image. You can edit the text with custom fonts or bold it to make it visible. Apart from this, an option exists to add colors to the text to increase their noticeability. You can underline essential text details. Use this feature to witness the practicality.
Generate images from Text
The text-to-image is also a notable feature among the list of features. This feature is highly beneficial for the non-editors or photographers. You can create images with zero knowledge and skills. With the help of the text, you can create any image you want. The option exists to create the logo, profile image, portrait, etc. The choice is endless.
A Roadmap To Effectively Use CapCut Online Image Editor
You can sharpen image through the CapCut online editing tool. The only thing you need to do is just follow these steps:
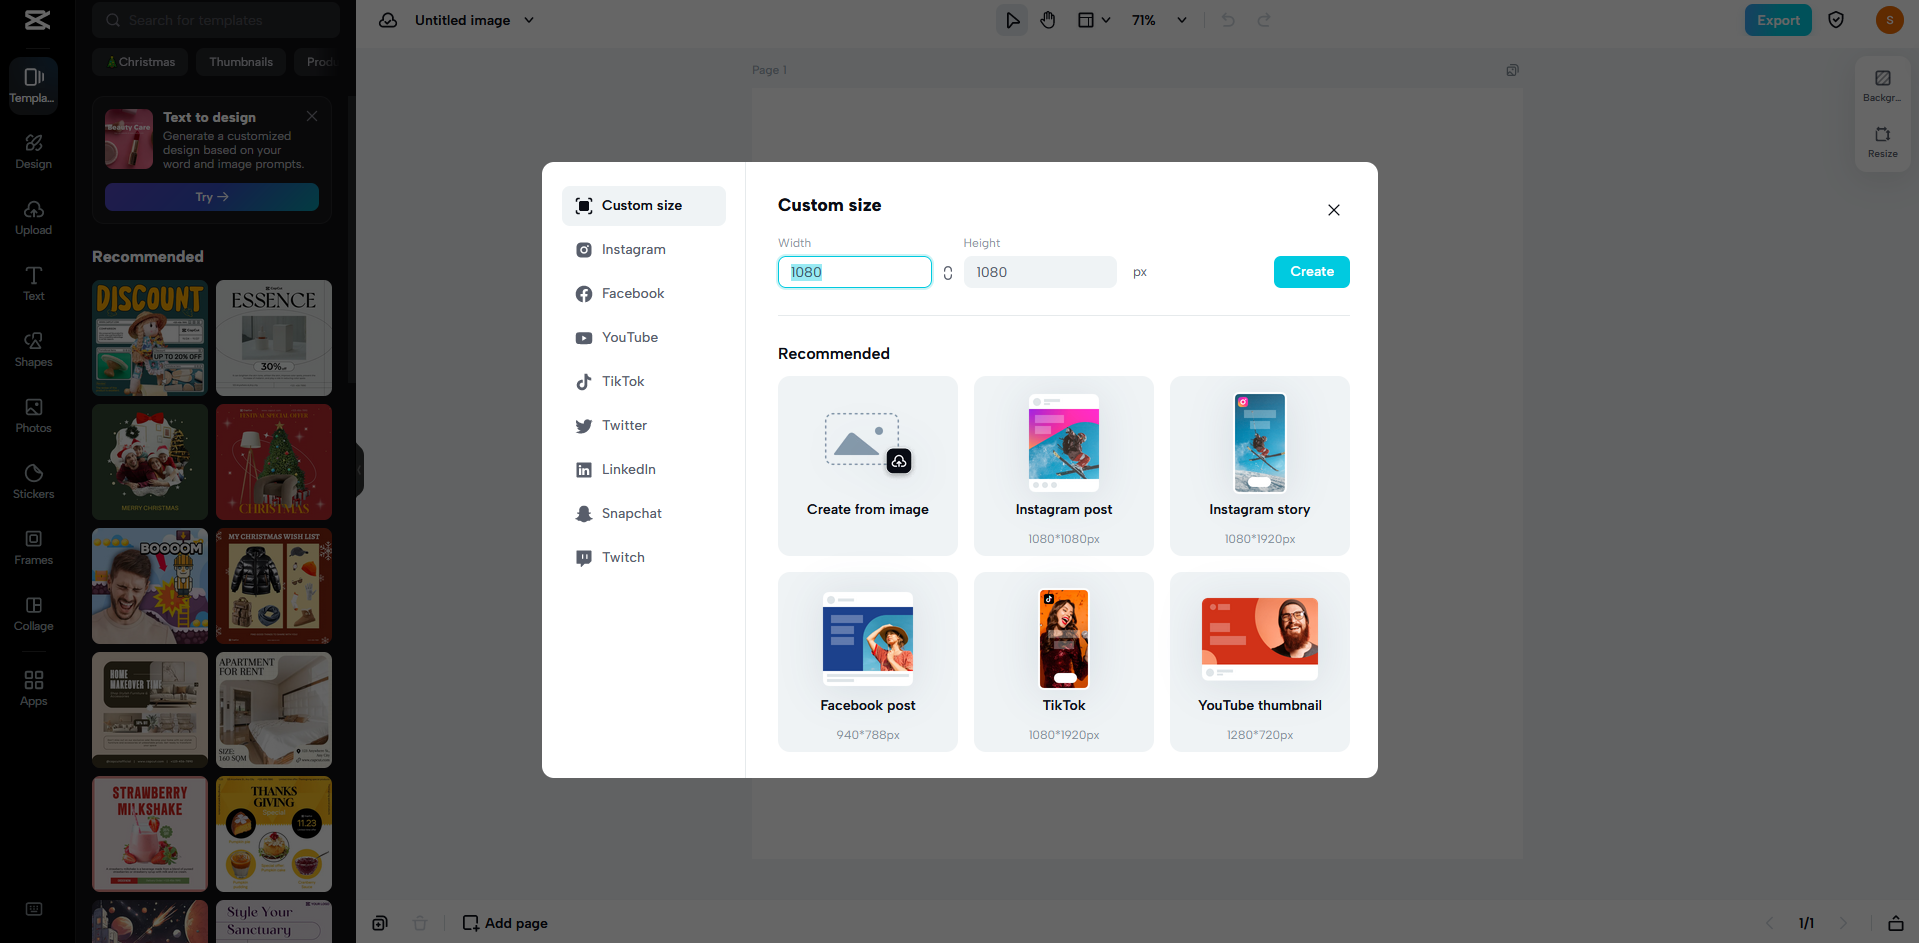
First of all, go to the CapCut online photo editor and start signing up. For this, you need to fulfill the following things: a stable internet connection, a device to access the official site, search engine browser. You can install anyone from Google, Firefox, Internet Explorer, etc. Go to the search tab of any browser you have and search for the CapCut online photo editor. After accessing the online editor requires a signup. You can sign up by using any of these accounts, including Google, FB, TikTok, etc.
After finishing the signup process. The next thing on your end is the selection of the size. A window will pop up, which will allow you to do two things. Either select the size from the window or enter the custom size in pixels. There are size templates that exist for a plethora of social media or streaming platforms. After selecting the right size, just click on the Create tab to begin using that size.
Later, you have the freedom to upload the file or start creating a new file using the blank Canva. It depends on your choice. To upload the file, you can do so by accessing the upload tab that exists on the extreme left column. It allows you to use Google Drive, Dropbox Box, or a device to upload the file. After uploading, start the editing.
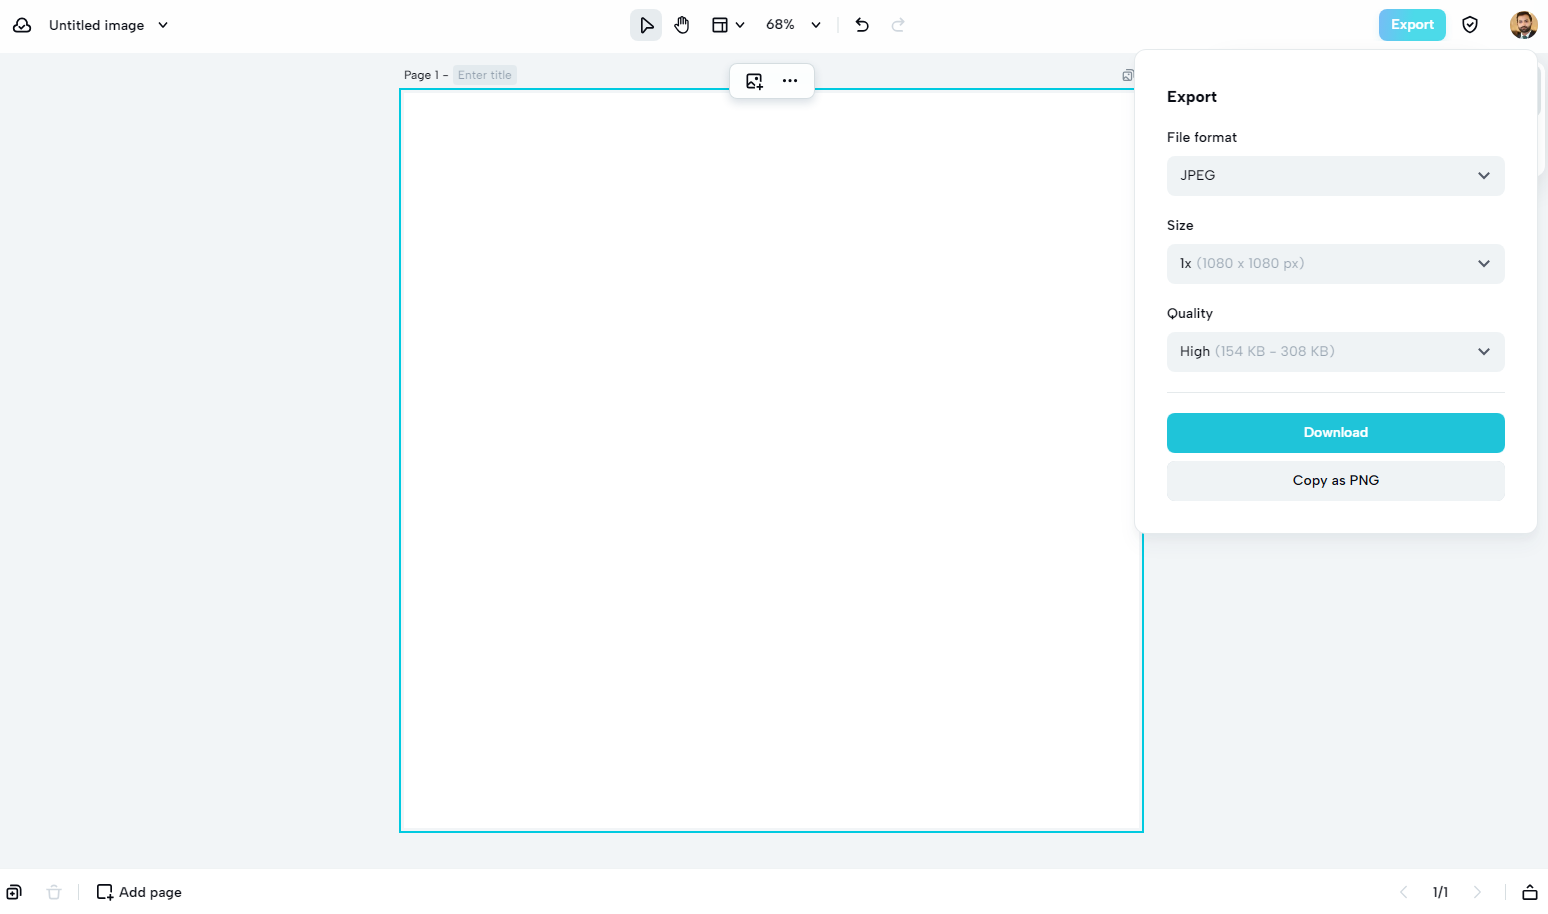
Finally, when you have finished the editing task, there comes the download option. To do so, you first need to go to the export tab. Clicking on it opens up a menu containing multiple functions. These functions allow you to adjust the image format, quality, and size. Change format to jpg, png, or even pdf. You can also change the size from 0.5x to 3x and the quality from low to high. After tweaking these details, just proceed to the image download tab to transfer the image to your system.
 By Amey Myers
Amey, an intrepid traveler and avid blogger, roams the world, absorbing diverse cultures, flavors, and experiences. Her writing captures the essence of her adventures, inspiring others to explore. Amey's infectious passion for travel and storytelling epitomizes a life filled with exploration and adventure.


