Germinating marijuana seeds is the first crucial step in growing your own cannabis plants. While fresh seeds typically germinate quickly and easily, older seeds can present more of a challenge. However, just because seeds are old doesn’t mean they’re unusable. With the right techniques and a little extra care, you can successfully germinate old marijuana seeds and enjoy a healthy harvest. In this blog, we’ll share practical tips to help you get the best results when working with aged cannabis seeds.
Understanding the Challenges of Old Seeds
The Effects of Aging on Seeds
Marijuana seeds, like all seeds, have a lifespan. Over time, their viability decreases, making them more difficult to germinate. This decline in viability is due to the gradual loss of moisture and nutrients within the seed, as well as potential damage to the seed coat. Older seeds may take longer to sprout, and the seedlings that do emerge may be weaker or less vigorous than those from fresher seeds.
Identifying Usable Seeds
Before attempting to germinate old marijuana seeds, it’s important to assess their condition. Start by examining the seeds for signs of damage or deterioration.
Healthy seeds are typically dark brown with a hard, intact shell. The seeds may be too degraded to germinate successfully if they are pale, cracked, or easily crushed. However, if the seeds are still firm and intact, there’s a good chance they can be revived with the right approach. If you’re wondering, can you purchase marijuana seeds online to replace old or damaged seeds? The answer is yes, and purchasing from a reputable source can ensure you’re getting high-quality seeds with a better chance of successful germination.
Preparing Old Seeds for Germination
Soak the Seeds
One of the most effective ways to increase the chances of germinating old seeds is to soak them in water. Soaking helps rehydrate the seeds, softening the shell and encouraging the embryo inside to sprout.
- Use Room-Temperature Water: Fill a glass with room-temperature water. Avoid using hot or cold water, as extreme temperatures can damage the seeds.
- Add Seeds to the Water: Place the seeds in the water and allow them to soak for 12 to 24 hours. Keep an eye on them, and if you notice any seeds sinking to the bottom, this is a good sign that they are absorbing water.
- Don’t Over-Soak: Be careful not to soak the seeds for too long, as this can lead to mold growth or rot. After 24 hours, remove the seeds from the water and proceed with the germination process.
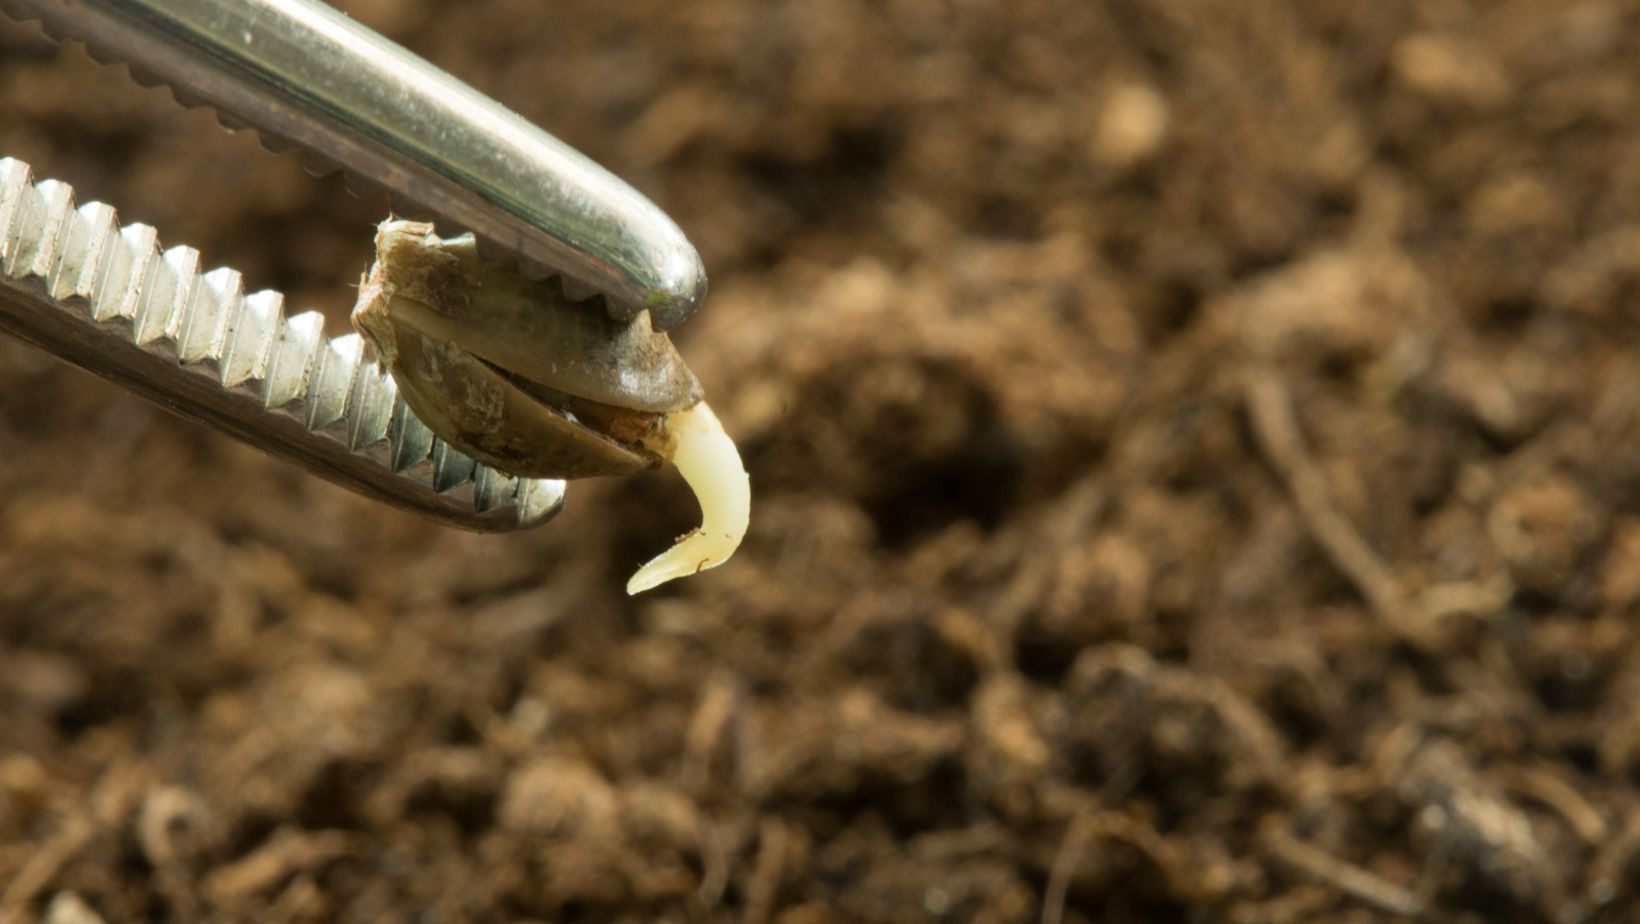
Scarify the Seeds
Scarification is another technique that can help improve the germination of old seeds. This process involves lightly damaging the seed coat to make it easier for moisture to penetrate and the embryo to emerge.
- Use Sandpaper or a Nail File: Gently rub the surface of the seed with fine-grit sandpaper or a nail file. Focus on the sides of the seed, avoiding the pointed ends where the embryo is located.
- Don’t Overdo It: The goal is to create tiny abrasions on the seed coat, not to break it open. A few light strokes should be enough to help the seed absorb moisture more effectively.
Germination Techniques for Old Seeds
Paper Towel Method
The paper towel method is a tried-and-true technique for germinating seeds, and it works well for old seeds as well.
- Dampen Paper Towels: Moisten two paper towels with water. They should be damp but not soaking wet.
- Place Seeds Between Towels: Place the seeds on one of the damp paper towels and cover them with the other towel.
- Store in a Warm, Dark Place: Place the paper towels in a plastic bag or between two plates to create a humid environment. Store them in a warm, dark place, such as a cupboard or drawer, where the temperature is consistently between 70-85°F (21-29°C).
- Check Daily: Check the seeds daily to ensure the paper towels remain damp and to monitor for signs of germination. Once the seeds sprout, with a small taproot emerging, they are ready to be planted.
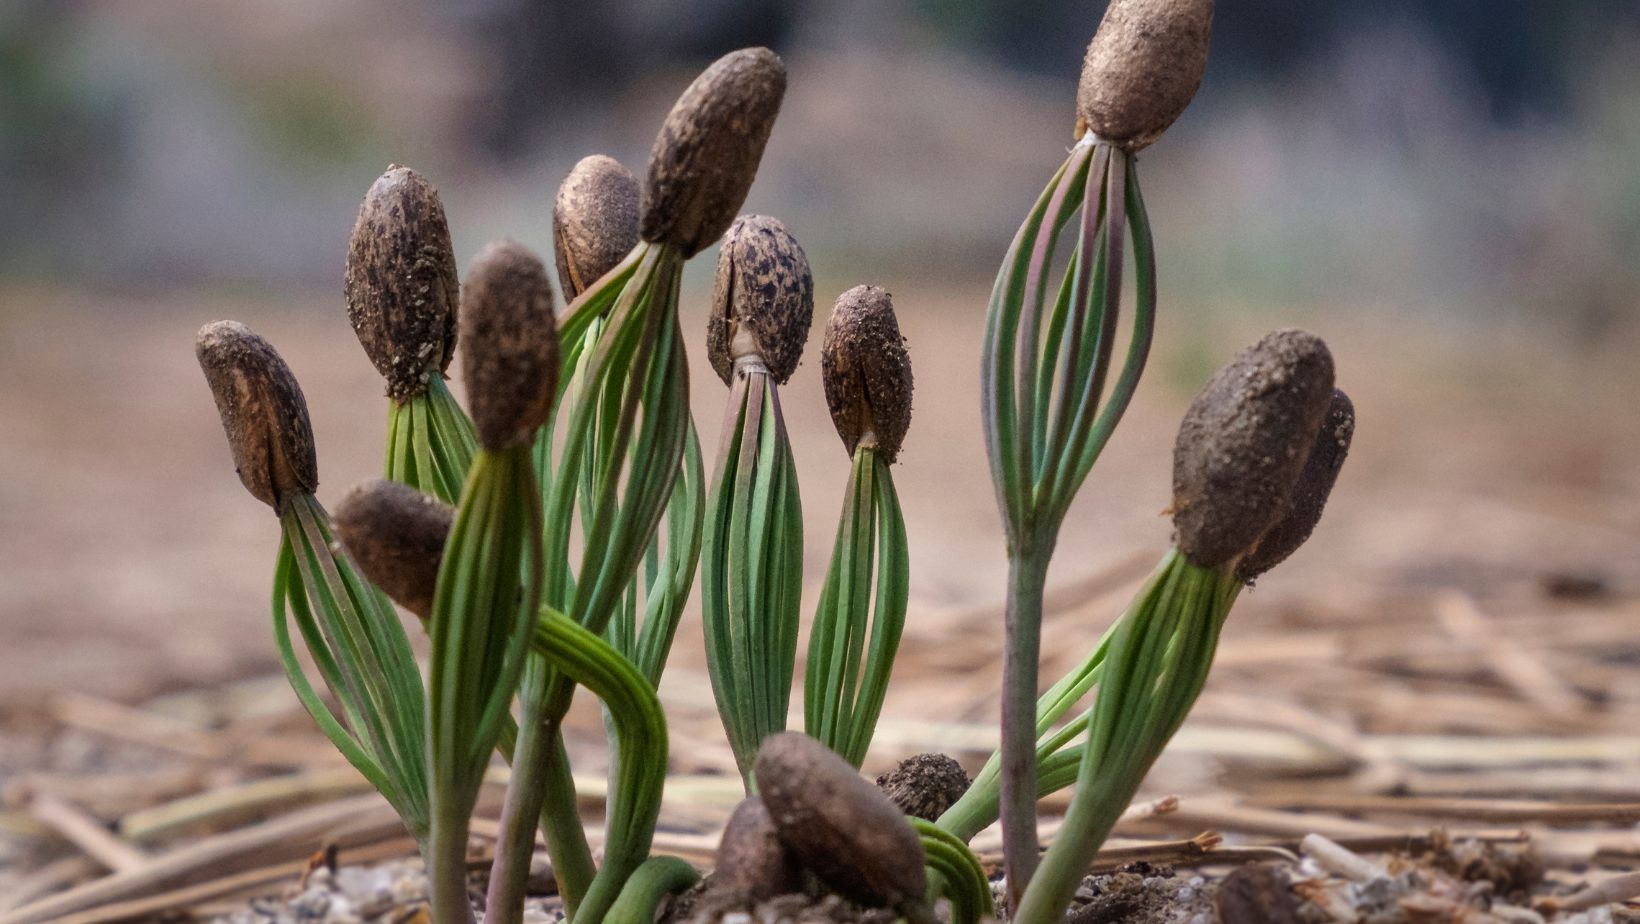
Direct Soil Germination
Another method is to plant the seeds directly in soil, which can be especially beneficial for older seeds that might be more sensitive to handling.
- Prepare the Soil: Use a light, well-draining soil mix, and moisten it slightly before planting.
- Plant the Seeds: Plant the seeds about 1/4 inch deep in the soil. Cover them lightly with soil, and gently pat it down.
- Keep Moist and Warm: Water the soil lightly to keep it moist but not waterlogged. Cover the pot with plastic wrap or a humidity dome to retain moisture and warmth. Place the pot in a warm location with indirect light.
- Be Patient: Germination may take longer with older seeds, so be patient and keep the soil moist. Once seedlings emerge, remove the plastic cover and provide them with light.
Supporting Seedling Growth
Use of Rooting Hormones
To give old seeds an extra boost, consider using a rooting hormone or a diluted solution of hydrogen peroxide.
These substances can promote root growth and improve the chances of successful germination.
- Dip the Seeds: Before planting, dip the seeds in a rooting hormone powder or soak them in a diluted hydrogen peroxide solution for a few minutes.
- Plant as Usual: After treatment, plant the seeds using your preferred germination method.
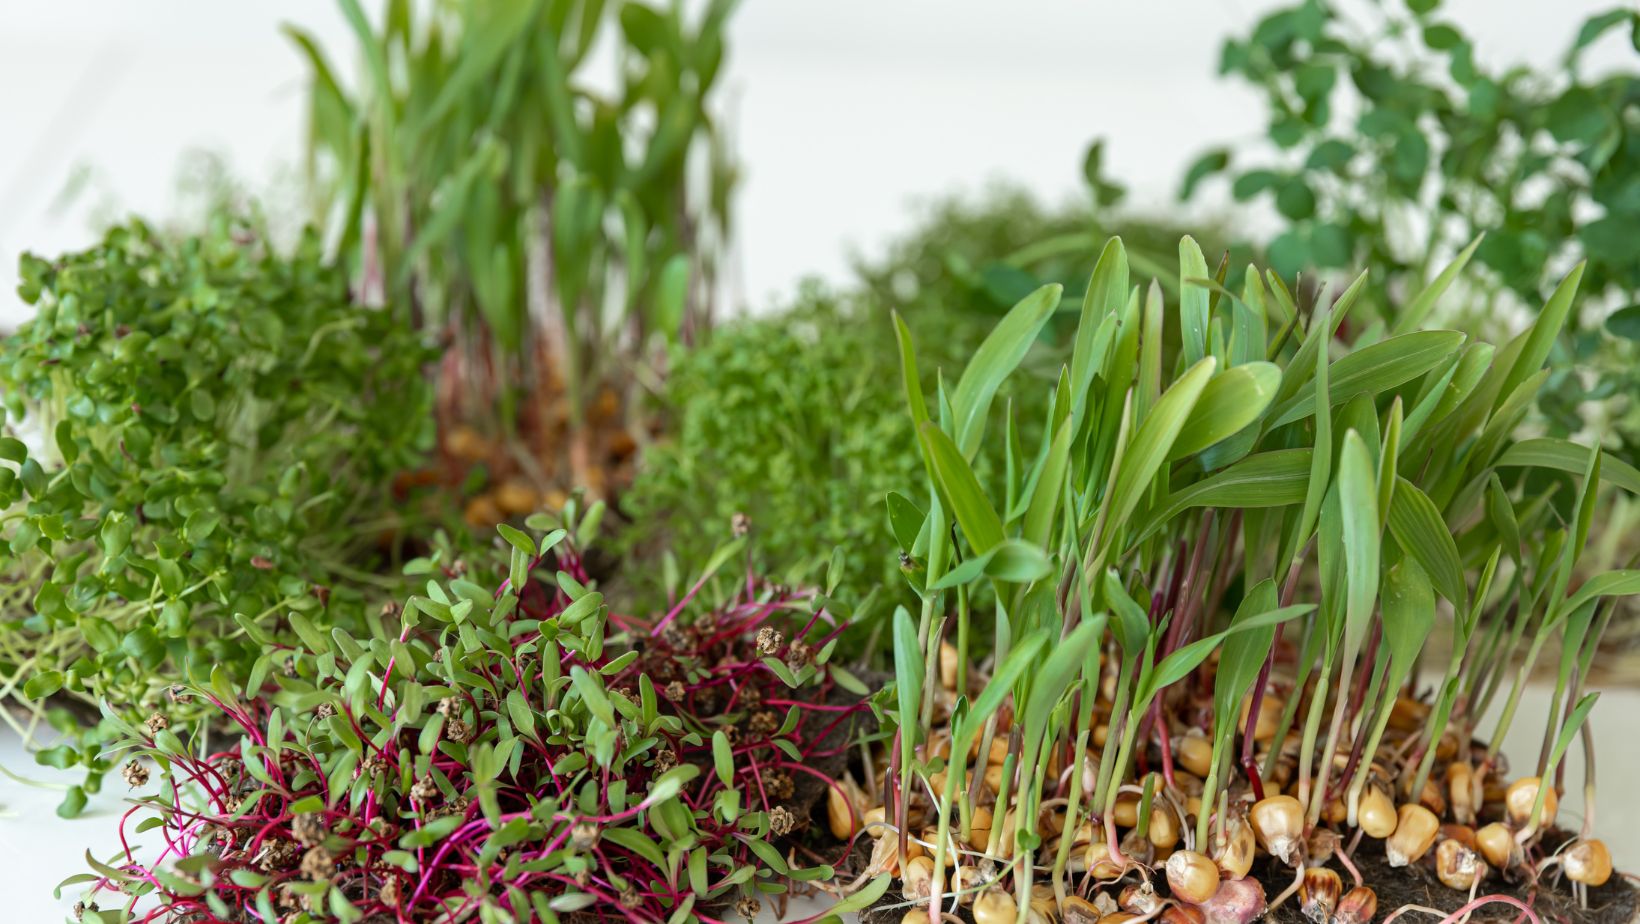
Provide Optimal Conditions
Once the seeds have germinated, it’s essential to provide the young seedlings with the best possible growing conditions.
- Light: Ensure the seedlings receive plenty of light, either from natural sunlight or grow lights, to promote healthy growth.
- Watering: Keep the soil consistently moist but avoid overwatering, as this can lead to root rot.
- Temperature and Humidity: Maintain a stable temperature of around 70-80°F (21-27°C) and a relative humidity of 60-70% to support healthy seedling development.
Conclusion
Germinating old marijuana seeds can be a rewarding experience, but it requires a bit more patience and care compared to fresh seeds. By understanding the challenges of aging seeds, preparing them properly, and using effective germination techniques, you can increase your chances of success. Remember to be patient, as older seeds may take longer to sprout. With the right approach, you can bring new life to your old seeds and enjoy a fruitful harvest.
 By Gregory O'Neill
Greg is a modern-day explorer with an insatiable love for travel. His passion for adventure has led him to far-flung corners of the world, where he immerses himself in diverse cultures and experiences. Greg's zest for life is epitomized by a continuous pursuit of new horizons and captivating journeys.