
Passport photos are easy to leave until the last minute.
You complete the application, gather the supporting documents, and check the appointment date. Then you notice that you still need a recent photo. By that point, the nearest studio may be closed, fully booked, or simply too far away to make the trip worthwhile.
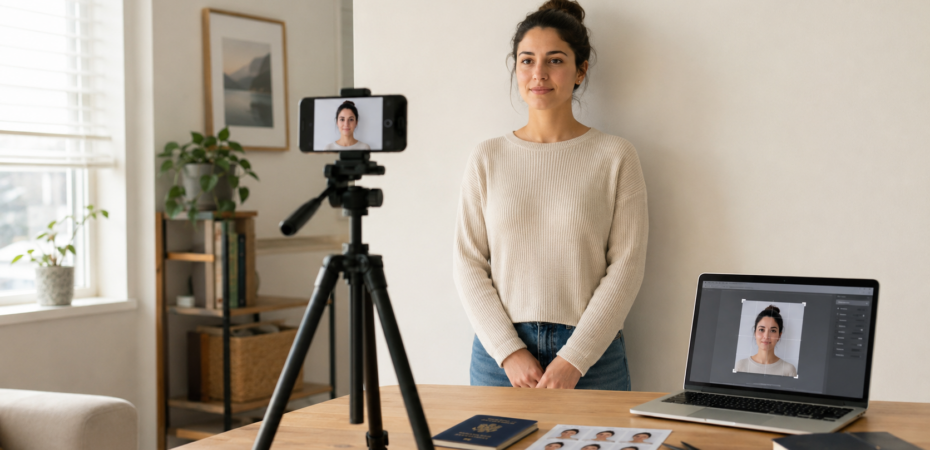
Taking the photo at home can be a practical alternative. A recent smart phone is usually more than capable of producing a clear image, and the setup is fairly simple: a plain background, even lighting, and enough patience to take several shots.
The important thing to remember is that this is not a profile picture. Passport and visa photos must follow specific rules, and those requirements can vary by country and document type.
Check the Requirements Before Taking the Photo
It is tempting to take the picture first and worry about the size later, but that often creates extra work.
Start by checking the official website for the passport, visa, residence permit, or other travel document you are applying for. Use the latest photo instructions rather than relying on an old guide or a picture prepared for a previous application.
Requirements can vary more than people expect. One authority may require a white background, while another accepts off-white or another light color. Some applications ask for a digital upload, while others still require printed copies. File size, image dimensions, and head position may also be different.
Use the Rear Camera and Skip the Selfie
A recent smartphone is usually good enough, but the way you use it makes a difference.
The rear camera generally produces a clearer image than the front-facing one. It also reduces the slight distortion that can happen when the phone is held too close to your face.
Ask someone else to take the picture if possible. The phone should be held at roughly eye level and far enough away to include your head, shoulders, and some space around them.
When no one is available, place the phone on a tripod, shelf, or another stable surface and use the timer. Avoid positioning it too low or too high, as this can make the camera point upward or downward.
Clean the lens before you begin. A fingerprint or smudge can make an otherwise good photo look soft or hazy.
Face the camera directly, keep your head straight, and hold your shoulders level. Do not turn slightly to find a more flattering angle. Look at the lens and follow the issuing authority’s rules for facial expression.
Take several pictures rather than relying on the first one. One may be slightly blurred, another may catch a small head tilt, and a third may have better lighting. It is much easier to choose from several good options than to fix one poor image.
Avoid portrait mode, beauty filters, skin smoothing, and similar effects. Artificial blur can soften the edges of your hair or shoulders, while facial filters may alter your natural appearance.
Crop the Photo Carefully
Once you have chosen the clearest image, it still needs to be cropped and formatted for the application.
This is often where a good home photo goes wrong. The head may sit too high in the frame, the face may be slightly off-center, or the crop may leave too little space above the hair.
A passport photo maker can simplify the process by applying the correct template for a particular country and document type. A passport photo tool may also help position the face, prepare the background, and create either a digital file or a printable layout.
For example, IDPhotoDIY.com lets users select the required document format and prepare the image for online submission or printing. This can be useful when the original photograph is clear but still needs the correct dimensions and framing.
Check the Digital File and the Printed Copy
Digital and printed photos can fail for different reasons.
For an online application, check the file type, pixel dimensions, and maximum file size. Open the finished photo on a larger screen before uploading it. A small phone display can make a slightly blurred image look sharper than it really is.
Do not repeatedly compress the same file to make it smaller. This can reduce the image quality. Return to the original and export a fresh copy when possible.
Some application portals check photographs automatically. When a photo is rejected, read the error message carefully. The problem may be the file size, but it could also be the background, facial position, or amount of space around the head.
Printed photos need a different set of checks. Use suitable photo paper and confirm that the printer has not resized the image. Settings such as “fit to page” may enlarge or shrink the photo without making the change obvious on screen.
Measure one print before cutting the rest of the sheet. It is a small step, but it can prevent you from turning up at an appointment with several copies in the wrong dimensions.
Cut along the edges carefully and avoid folding, marking, or damaging the surface.
A Few Details People Often Miss
Clothing is usually the easiest part of the process, but contrast still matters. A white shirt against a white wall can make your shoulders blend into the background, so a plain top in a medium or darker color is often a better choice.
Rules for glasses vary. Some authorities do not allow them, while others accept them as long as the eyes are fully visible and there is no glare. It is worth checking before taking the photo rather than assuming the same rule applies everywhere.
Head coverings may be permitted for religious or medical reasons, but they should not hide important facial features.
Photographing a baby can be more challenging, although doing it at home gives you time to wait until the child is calm and awake. Use a plain background and make sure no hands, toys, cushions, or other people appear in the frame.
Requirements for infants may be slightly more flexible, particularly when it comes to facial expression or eye position. Even so, check the specific rules for the passport or visa before choosing the final image.
Review Everything One Last Time
Before submitting the photo, step away from it for a few minutes and then take another look.
Make sure the image is sharp, the face is evenly lit, and the head is straight. Check for shadows on the wall, glare on glasses, hair cut off by the crop, or clothing blending into the background.
Confirm both the country and the document type. Passports, visas, residence permits, and driving documents may use different photo formats even when they are issued by the same authority.
Finally, compare the finished image with the official examples.
Taking a passport or visa photo at home is not difficult, but it does require more care than taking an ordinary picture. In most cases, good lighting, a plain background, a clear original image, and the correct crop are enough.
You may need a few attempts to get it right, but that is often still easier than rearranging your day around a visit to a photo studio.
 By
By 


