CapCut, a popular free video editing software initially designed for mobile devices, has taken the world by storm with its user-friendly interface and robust features. Recognizing the demand for a desktop version, CapCut has expanded its platform to include a desktop version, offering even more powerful tools and a larger workspace for video creators. In this article, we’ll explore the key features of CapCut, its advantages, and a step-by-step guide to using some of its most popular functions.
For more information, feel free to click here: ai video generator.
Key Features of CapCut
1. User-Friendly Interface
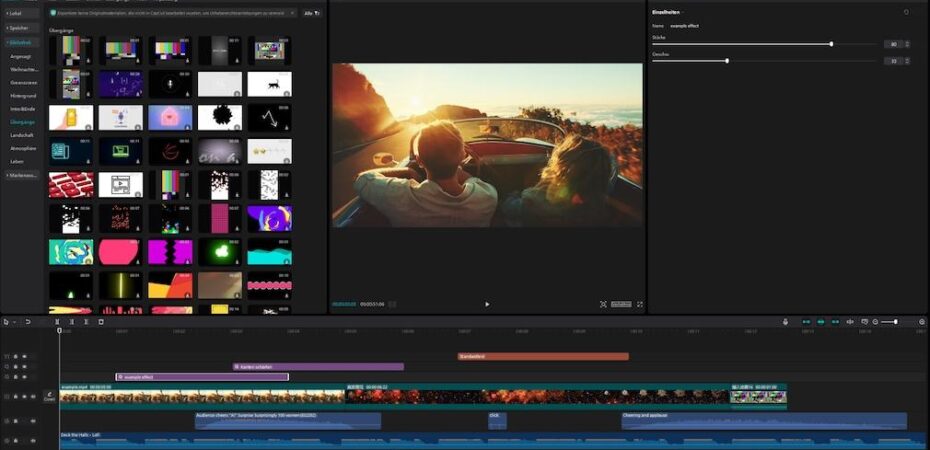
CapCut maintains the intuitive, easy-to-navigate interface that users love about the mobile app. The larger screen and additional workspace allow for more detailed and precise editing, making it ideal for both beginners and professional video editors.
2. Advanced Editing Tools
CapCut provides a wide range of advanced editing tools, including multi-track editing, keyframe animation, and motion tracking. These features enable users to create professional-grade videos with ease.
3. Extensive Effects Library
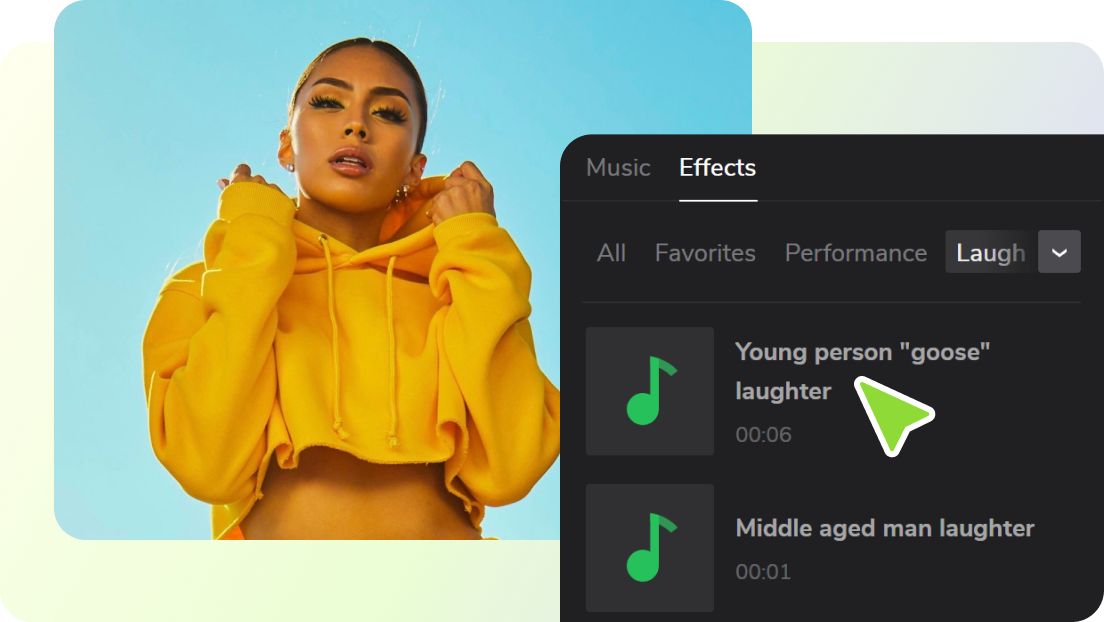
CapCut boasts an extensive library of effects, filters, and transitions. Users can select from a various visual effects to enhance their videos, ensuring each project stands out.
4. Audio Editing Capabilities
CapCut provides comprehensive audio editing tools, including the ai voice changer, sound effects, and background music. Users can easily adjust audio levels, synchronize sound with video, and add creative audio effects to their projects.
5. High-Resolution Output
With CapCut, users can export their videos in high resolutions, including 4K. This feature is essential for creators who need high-quality output for professional use or social media platforms.
Advantages of Using CapCut
1. Larger Workspace
Editing on a PC offers a larger workspace compared to mobile devices. This additional space allows for more precise editing and easier management of multiple video and audio tracks.
2. Increased Processing Power
PCs generally have more processing power than mobile devices, which means faster rendering times and smoother performance, especially when working with high-resolution videos and complex effects.
3. Keyboard and Mouse Support
Editing with a keyboard and mouse can be more efficient than using touch controls. The ability to use keyboard shortcuts speeds up the editing process and provides more control over detailed edits.
4. Seamless Integration with Other Software
CapCut can easily integrate with other software tools, such as Adobe Photoshop for creating custom graphics or Audacity for advanced audio editing. This integration enhances the overall editing workflow.
How to Use CapCut: A Step-by-Step Guide
Step 1: Download and Install CapCut
- Visit the official CapCut website and download the software.
- Follow the installation instructions to set up CapCut on your computer.
- Once installed, open CapCut and create a new project.
Step 2: Import Media Files
- Click on the “Import” button to add your media files, including videos, images, and audio clips.
- Drag and drop the imported files into the timeline to start editing.
Step 3: Apply Video Effects
- Select the video clip you want to edit in the timeline.
- Click on the “Effects” tab to browse the available video effects.
- Choose an effect and drag it onto the video clip in the timeline. Adjust the effect settings as needed.
Step 4: Use the Voice Changer
- Select the audio clip you want to edit in the timeline.
- Click on the “Audio” tab and choose the “Voice Changer” option.
- Select a voice effect from the list and apply it to the audio clip. Adjust the settings to achieve the desired effect.
Step 5: Add Video Filters
- Click on the “Filters” tab to access the filter library.
- Choose a filter and drag it onto the video clip in the timeline.
- Adjust the filter settings to enhance the visual appearance of your video.
Step 6: Export Your Video
- Once you have finished editing, click on the “Export” button.
- Choose the desired resolution and format for your video.
- Click “Export” to save your video to your computer.
Collaboration and Sharing Capabilities
One of the standout features of CapCut PC is its robust collaboration and sharing capabilities.
- Cloud-Based Collaboration: CapCut PC supports cloud-based collaboration, allowing several users to work on the same project at the same time. This feature is specially useful for teams working remotely or on complex projects that require input from various stakeholders.
- Instant Sharing Options: Once your video is ready, CapCut PC makes it easy to share directly to social media platforms such as YouTube, and TikTok. This seamless integration saves time and ensures your content reaches your audience quickly.
Conclusion
CapCut brings the power and versatility of the mobile app to a larger platform, offering enhanced editing tools and a more comfortable workspace. Whether you’re a beginner looking to create your first video or a professional seeking advanced editing capabilities, CapCut provides everything you need to produce high-quality videos. With its user-friendly interface, extensive effects library, and seamless integration with other software, CapCut is a must-have tool for any video creator.
 By Jurgen Neustadt
Jurgen is a globetrotting adventurer with an unwavering thirst for travel. He craves the thrill of discovering new places, cultures, and flavors. Jurgen's life is a journey of exploration, where each destination offers a new chapter in his ongoing story of adventure and wonder.


